I started by taking these little screws out but quickly found that they were just holding on the rubber strip.
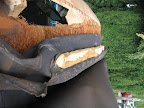
I started to 'rip' away layers at the front of the top. I could have unbolted the wooden structural bar, but that would have made too much sense!
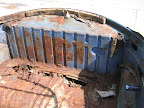
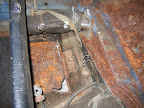
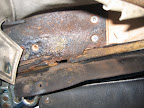
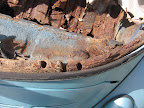
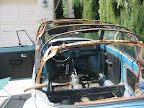
My biggest worry was that the top structure would be as rusted as the floor. Fortunately, that wasn't true? There's a little bit of rust, but nothing that can't be repaired with the welder - definitely cheaper than a new frame! The other expensive piece is that wooden bar bolted to the front of the frame, this was in perfect shape so that will definitely save a few hundred bucks.
The layers start peeling away...
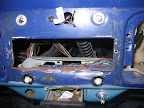
Peeled back to the first crossbar, here's how the headliner attaches:
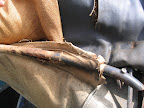
This looks like a huge mess, but the top pretty much peeled away with a little muscle, a razor, and a lot of aged-plastic.
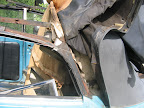
This cable goes taught when the top is 'up', but I didn't have to mess with this until later.
An in-progress shot.
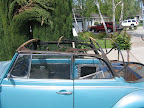
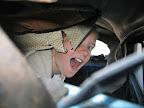
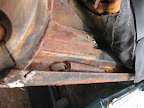
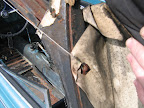
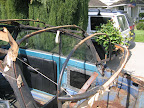
Looking at this, it's hard to believe the top looked ok from the outside, but clearly the water which had rusted out the firewall had done some serious damage to the vinyl as well. The wooden bar attached to the back body frame was falling apart. I hit it a few times with a hammer and it pretty much just fell out. The screws holding it in have bolts in the engine compartment. Unfortunately, they all appear to be pretty rusted and I wasn't able to remove any of them. I'll have to figure that out before it's time for a new top...
Almost done...
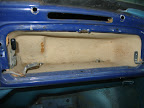
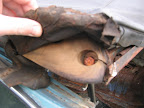
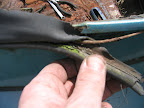
The strings attached to the very back bar worried me a bit, but they are just there to pull that bar taught when the top is 'up'. They are just tacked in.
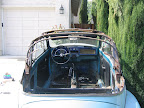
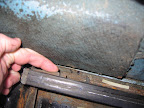
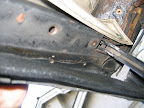
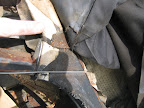
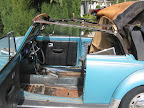
With the vinyl and headliner completely removed, it turned out to be really simple to take the frame itself off. Just take these bolts off on each side and lift away...
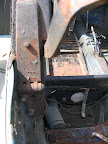
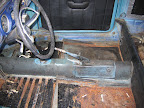
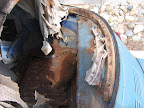
Notice the cable/bolt that's attached right before it. This cable needs to be completely removed in order to get the very last piece of vinyl off the car. This fabric is held in with the cable under a lip around the back of the car. This lip is pretty rusted and crumbled on the edges - that's going to be a fun one to fix...
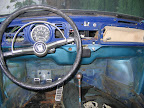
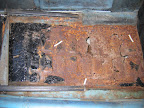
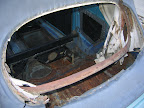
Here's the back of the car, with the top off.